Archived
Please note, this page may contain outdated information or subject matter.
Training Rides
How to add structure and training benefits to a ride
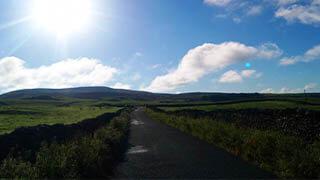
Turn a ride into a ride with purpose
With every week that passes, that event you're signed up for is getting closer and all your cycling buddies are telling you that you should be training. But where do you start?
We all know, that with other commitments - just getting out on the bike can sometimes be a challenge. This is where adding structure to your riding can help maximise that time on two wheels without having to invest in coaches and expensive training equipment.
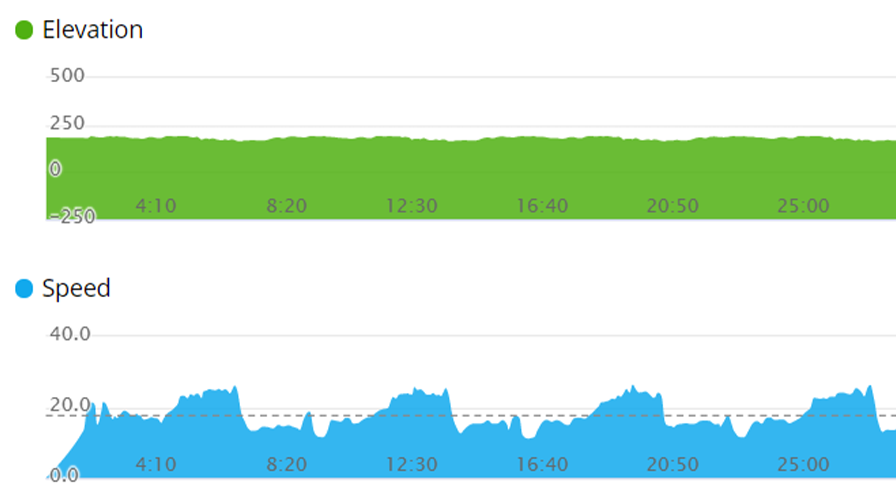
Use Data
This is a blog in itself, in short using data is the key to getting the most benefit from your training. Data recording equipment is great but not cheap so with this in mind, use the RPE scale to gauge your intensity to start off with. In addition to this use Strava or Garmin to record your route. By recording your route, it will give you a time and distance that you can go back to on future rides to see progress and use as a reference guide.
The RPE scale stands for Rate of Perceived Exertion and is rated from 1 to 10. 1 is equivalent to resting and 10 is working flat out. It is a simple method that does not rely on you having cadence, power or heart rate sensors as long as you are honest with yourself about how hard you are trying.
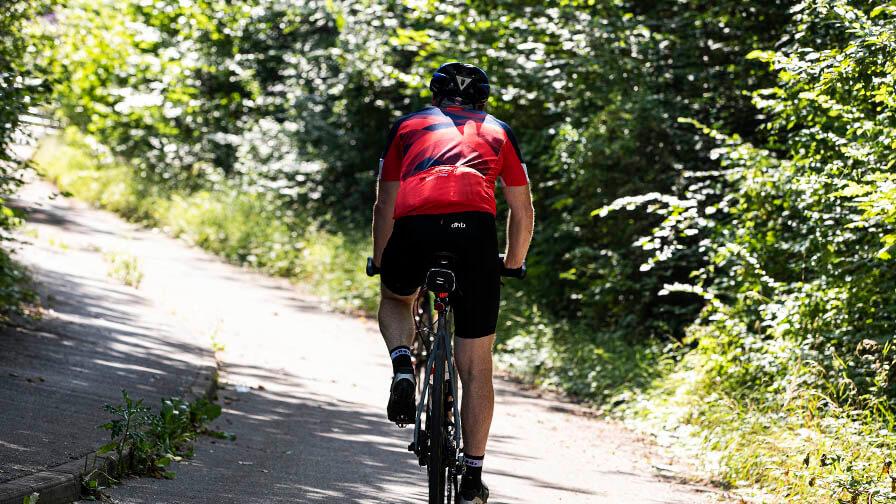
Interval training
A simple and effective way to turn a simple spin into an effective workout. This can be done over any terrain, on any ride, from your daily commute to riding your favourite trail at the weekend.
To start off with spend five minutes warming up and getting to an RPE level of 6. At level 6 you should still be able to talk but be slightly out of breath and sweating.
Now you’re ready for the fun to start, increase your effort to level 9 and hold it at this level for 1 min. After a minute, ease off to an RPE level of 6 and hold it there for 3 mins. This is your first interval, repeat this for 20 min to start off with (this is 5 intervals if you want to work it out that way instead). After this, gently spin for 10 min to cool down at an RPE level of 5 or below. As you get fitter, aim to increase the number of intervals you do and reduce your recovery time in between sets.
Hill Sprints
Eddy Merckx once said:
Don’t buy upgrades, ride up grades"
In short this is a very simple and effective way to get stronger on the bike and improve your aerobic fitness. Riding at a steady pace, use your time on the flat and descents to recover at an RPE level of 5 to 6 then, when you encounter a hill, ramp up the effort to an RPE level of 8 or above and attack, attack, attack!
On short hills get out of the saddle and sprint up them. On the longer climbs try and stay seated for 75% of the climb concentrating on maintaining a constant cadence then get out the saddle and sprint the last 25%. Once you reach the top, slow the pace to recover but keep rolling.
Skills and Drills
Not all training has to put you in the hurt locker. It is easy to fixate on getting fitter and chasing Strava segments but the ability to ride smooth is an equally important skill to master in order to get quicker.
edicate a ride to essentially playing on your bike. Practice those fundamental skills like body position, cornering and drinking whilst on the move. This kind of session is also fun and a good way to remind you why you are riding your bike!
Circuits
Circuits are a way to get the most out of a short ride and acts as a great way to simulate a race environment. Choose a route that is 4 to 6km long with a few climbs, descents and corners in it.
To start off with, ride it once at a warm-up pace to know what is around the corner and then go flat out at a race pace for two laps. As your training progresses increase this to four laps. Circuits are also a very effective way of monitoring improvement by comparing times as the aim should be to have a similar time each lap.
Go Ride
So there you go, a few hints and bits of advice to motivate you to keep riding and get stronger, fitter and faster for your event. All that is left to say is go ride, train and enjoy!